Showing posts with label FOOD. Show all posts

Tuesday, November 9, 2010

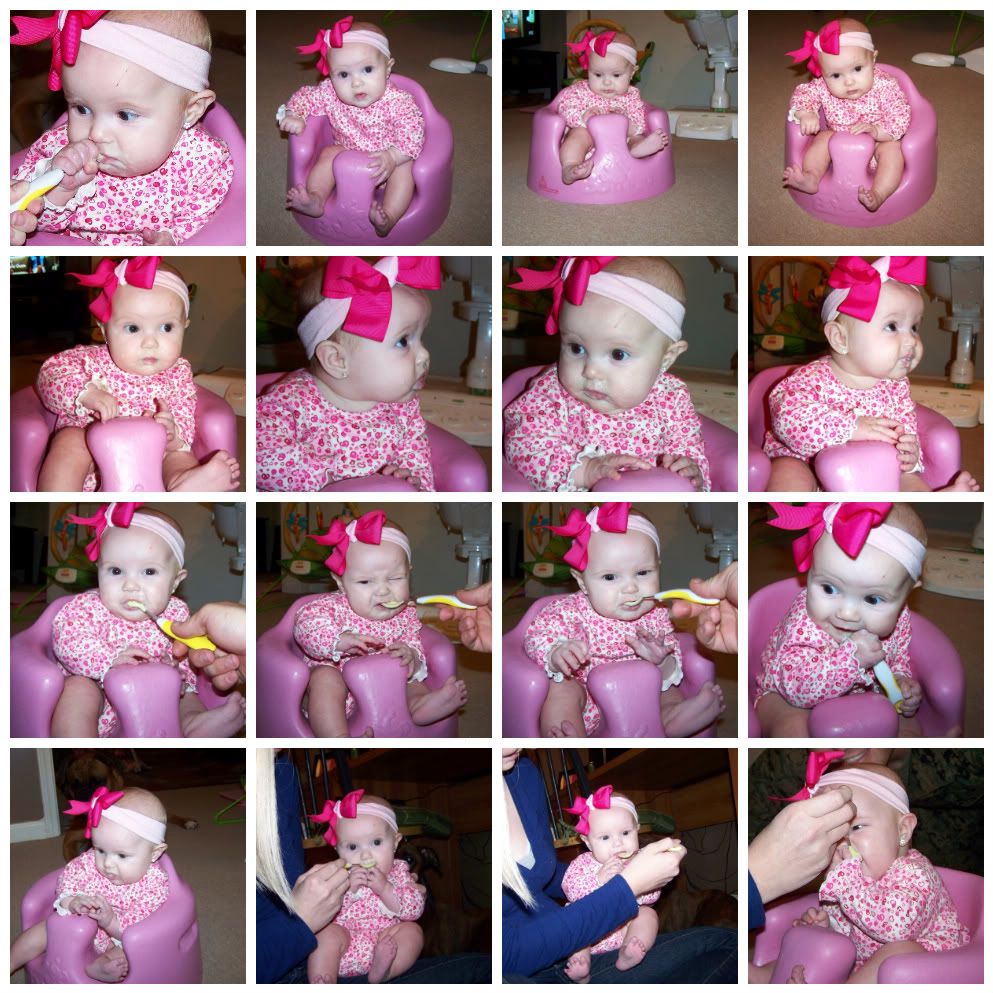
Cereal; yum.

Abby eating cereal for the first time was definitely a fun experience.
She will get the hang of it! ;)
November 9th 2010


Monday, May 10, 2010

Parmesan Crusted Stuffed Chicken

BAM!
two nights in a row...I could get use to blogging about my meals! I admit, however, I'm a little excessive with the photos but whatever. ha. ;) 
So, Parmesan crusted stuffed chicken was on my meal plan this week, I just wasn't sure which night I was going to make it until a friend blogged about her stuffed chicken last night and it looked so yummy and that is why, my friends, The Kelsey's enjoyed this amazing meal tonight! :)

Ingredients:

-6 small boneless skinless chicken breast halves ((I only used 3 chicken breasts))
-12  fresh asparagus spears, trimmed ((I omitted this, but others may like it))
-1/2 cup Finely Shredded Cheese Blend ((I definitely used way more cheese than this because we love cheese))
-1/4 cup  Grated Parmesan Cheese ((same applies here, I just used my own judgment on how much cheese I wanted.))
-1 pkg. Stove Top Stuffing Mix for Chicken

Make it:

-Heat oven to 400ºF.

-Make cut in one long side of each chicken breast, being careful to not cut through to opposite side. Fill pockets with asparagus and shredded cheese.
 ^^^I literally packed mine full of cheese & if you want to even add mushrooms or anything else, I'm sure it will be really good!

-Place on baking sheet sprayed with cooking spray; top with Parmesan.
 ^^^I used grated parmesan cheese & shredded parmesan cheese just to add more on top! :)

-Bake 20 min. or until chicken is done. Meanwhile, prepare stuffing as directed on package. Serve with chicken.
 ^^^The finished product! 
You can tell how much cheese I used seeing that it is oozing out of my chicken!! & don't hate on the overused pan but in case you need an idea for my Christmas present this year, here ya go ;)

^^^I served with my stuffed chicken, stuffing, hominy ((one of Justin's faves)) and buttermilk cornbread!

^^^Let me say again tonight, that I really hate the way my cell phone is taking these pictures, it just takes away from the fantastic look of the food :(
I was very impressed, as well as Justin, at how wonderful this meal was! I will be making this again and plan to add sauteed mushrooms next time to change it up! & of course mixing up the sides next time too! 

Gosh, I'm already excited about tomorrow nights meal! I also found some really cool desserts that I will be making soon to show off! So stay tuned!!

Sunday, May 9, 2010

Taco Cups

I recently started 'meal planning' thanks to the influence of several of my friends! :) I love doing it and believe it or not, you really do save money knowing exactly what you want before you go in the store and of course with the help of coupons! ((I have also recently became a nutso about using coupons))
I plan my meals weekly ((as of right now)) since I'm just now getting in the groove of things. I know it will help a ton once I can start planning payday to payday but I feel like I'm doing great so far! :)
So, the point of this post tonight is to show off my Taco Cups I made tonight! It is a new recipe for me and was by far the easiest thing ever to make! I got the recipe from kraft.com and made a minor change but everyone is different so depending on what you like, is how you prepare.

What you need:

-1 lb. ground beef
-1 pkg.  (1-1/4 oz.)  Taco Bell® Taco Seasoning Mix
-1 can (10 oz.) refrigerated buttermilk biscuits((I made my biscuits homemade)) I refuse to buy biscuits anymore especially after discovering how EASY it is to make your own from scratch!
-1/2 cup  KRAFT Shredded Cheddar Cheese ((any cheese is fine, I used Mexican cheese))
-Sour cream, salsa, etc for extra toppings ((I didn't add anything to mine after because we like to add that as we are eating...Justin uses cottage cheese & I use sour cream))

How to make:

-Heat oven to 400°F. Cook meat with seasoning mix as directed on package. 
-Press biscuits onto bottoms and up sides of 10 muffin cups; fill with meat mixture.
-Bake 15 min. Sprinkle with cheese; bake 2 to 3 min. or until melted.

 ^^^The 'pressed' cups in the muffin pan before adding the meat

^^^The filled cups with meat before going into the oven

^^^Hot & ready right out of the oven! This picture does not do them justice! They looked so much better in front of me rather than in these photos I took with my cell phone.

And yes, I know these look very small but trust me they were very fulfilling and yummy. I also served them with Spanish rice & garlic bread! *Justin and I only had 2 a piece which worked out perfectly because Justin loooves leftovers to take for lunch the next day! :) :)
This is definitely a 'new' fave meal at the Kelsey resident, and if you try it out, let me know how it worked for your family & if you added/changed anything! ENJOY!